
How to make a table in the Word? How to turn over in the Word, combine, divide the table: Instruction
An article on how to draw a table in Word 2003, 2007, 2010, 2013, 2016.
Navigation
Program Word. He is a popular text editor, among users of the whole world.
Main functions:
- creating text files, folders, (documents), view, editors
- creating tables, graphs, simple schemes, drawings
- formatting, Text Design of Various Difficulties, Text Correction
- creating a multi-page document with add photo
In fact, Word., improved type of printing machine in a virtual image. The program will help create a diploma project, protect the coursework, issue a book.

Program Word, virtual printing machine
Consider, one of the options, functionality of the program, creating a table. Table design present in versions Word 2003, 2007, 2010, 2013, 2016.
How to draw a table in Word 2003?
Any table consists of columns and cells. The table includes a small text, numbers, drawing or scheme.
Creation scheme:
- mark on a sheet in Word Place to insert the future table
- select Menu "Table", then "Insert", then again " Table"
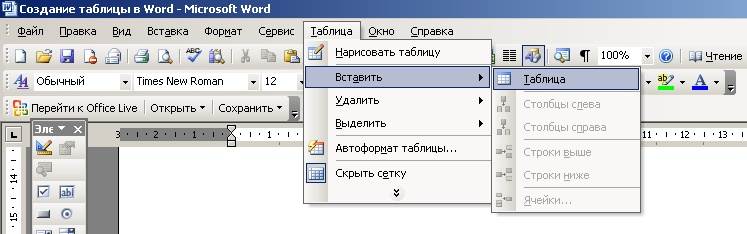
Select the "Table" menu, then "insert", then again "Table"
- review the open window "Insert table"
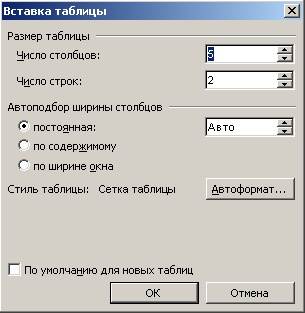
Window "Insert Tables"
- specify in the strings of the window the number of table columns, number of lines
- specify the option of automatic selection of columns width: constant (same) width, by content (The width will be equal to the largest text in the cell), by width of the window (The width of the future table is created on the entire page, the columns of the same width)
- select a specific table format by activating the button "AutoFormat"
- press the key "Okay", creating a table ended
- press the key "Add table", Specify the computer mouse number of rows and columns in the additional table, click on the dedicated number of squares. Actions are required for quick inserting table to the page.
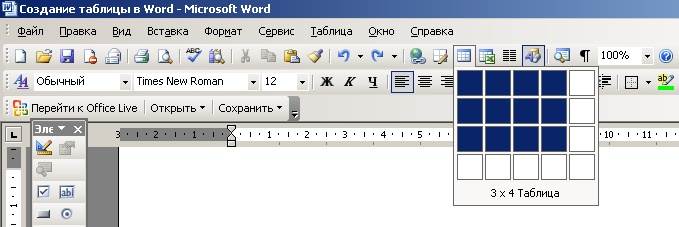
Fast inserting table
Since version Word 2007. and 2010 Similar to the functions of creating table elements, we combine the table creation scheme for these versions.
How to draw a table in Word 2007 - 2010?
Scheme:
- open menu "Insert"
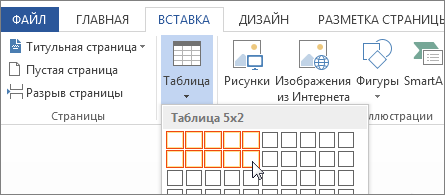
- click on the sign "Table"
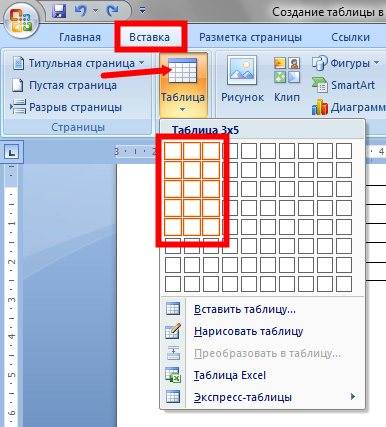
Menu "Insert", "Table" sign, mark the number of rows and columns for the future table
- in the menu that opens, place the mouse cursor on the top string on the left
- activate by clicking the left mouse button, not releasing the mouse, mark the number of cells by the number of future columns and lines
- release the mouse key, the basis of the table is ready
Note: Select the option "Draw a table", we can create a sign inside a large table, «cap » Tables , If you want to.
How to create a "cap" table in the Vord 2007 - 2010 version?
This requires to deal with the functions of combining and disconnecting the cells.
Scheme of the association of cells:
- mark the number of cells
- activate the right mouse button on the selected quantity
- click on the key "Combine Cells"
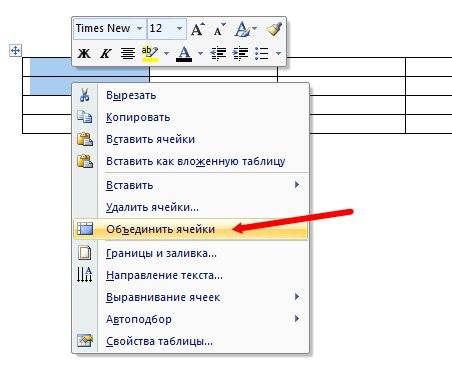
Press the "Combine Cell" key.
Diagram of separation of cells:
- select the cell you want to divide
- in the menu that opens, press the key "Clear cells"
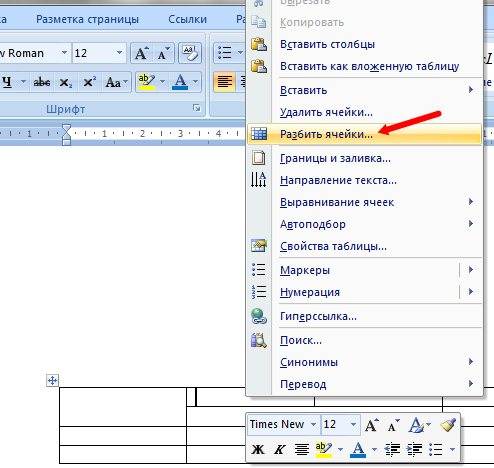
Activate the "Split Cells" key
- in the submenu window that opens, mark the number of desired columns and lines
- press the button "Okay"
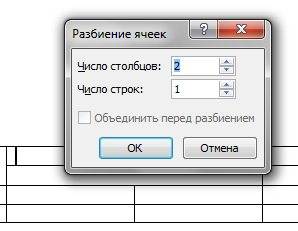
In conclusion of creating a table, activate the "Okay" key
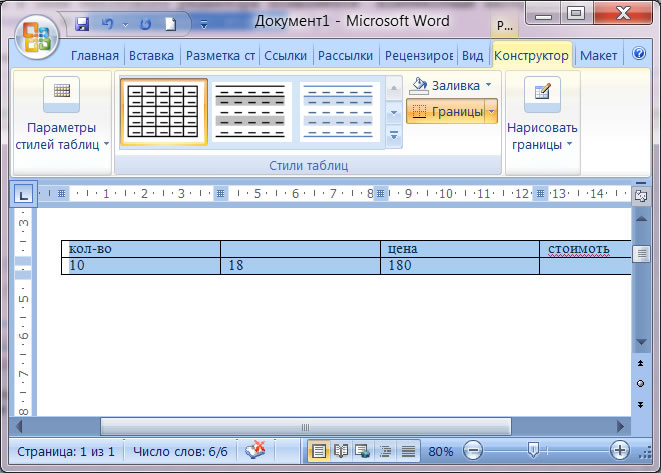
If you want to bloom the table with different colors, you need to do the following operations:
- highlight the right mouse button Coloring Cell
In the window that opens, find the option "Borders and Pouring" - in the new submenu, select the color of the fill
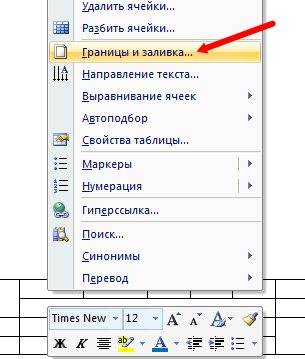
Option "Borders and Pouring", Color selection
Creation of the table element in the version Word 2013, 2016 Not enough than different from the same versions 2007 – 2010. Small nuances still have!
How to draw a table in Word 2013, 2016?
The scheme for creating the simplest table:
- press key "Insert"
- we activate the key "Table"
- select the number of columns and lines of the future table, press the mouse button on the dedicated number of squares
- the table is created in a text file
The "Insert" key, activate the "Table" keys, select the number of columns and table lines
If you want to change the schema of the table, add, split strings and columns, expand the borders of the table, set formulas, you should use the function "Working with tables"including all sorts of available features.

Function "Working with Tables"
Schema of creating a complex table:
- we activate the option "Paste", Then "Table"
- press key "Insert table"
To create a complex table, activate the "Insert", "Table" option, "Table Insert"
- indicate the desired number of columns and lines
- choose one of the functions automotive
- we celebrate the option "Default", for future creating the same tables
- press key "Okay"
Scheme of action on drawing its table:
- press key "Paste", then "Table"
- we enter the key "Draw a table"
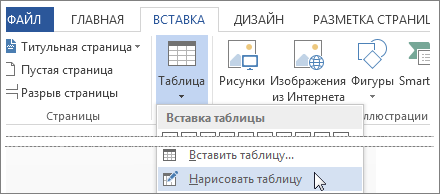
We use the option "Paste", then "Table", "Draw a table",
- draw a rectangle, inside it to design and draw lines, indicating rows and columns
To remove the line in the version Word 2013 - 2016Use the function "Working with tables"option "Layout"
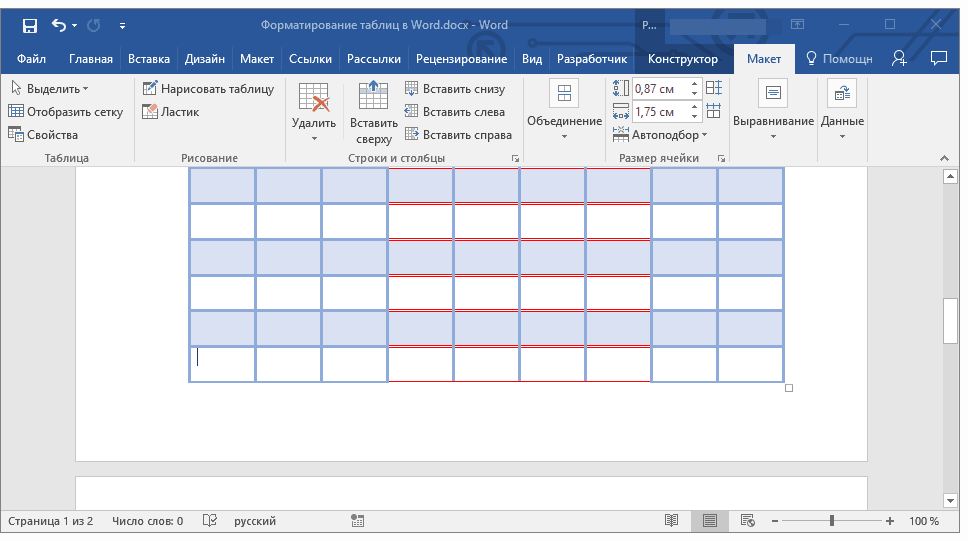
Menu "Working with Tables", "Layout" option
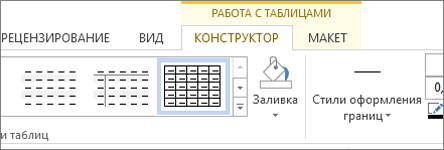
- to remove the line in the version Word 2007 - 2013Use the function "Working with tables"option "Constructor"
Menu "Working with Tables", Option "Designer"
- activate the button "Eraser", spend on the line to be deleted
- to align the height of lines and columns, in the option "Layout" (Word 2013, 2016) Select a key "Alignment of height or lines width"
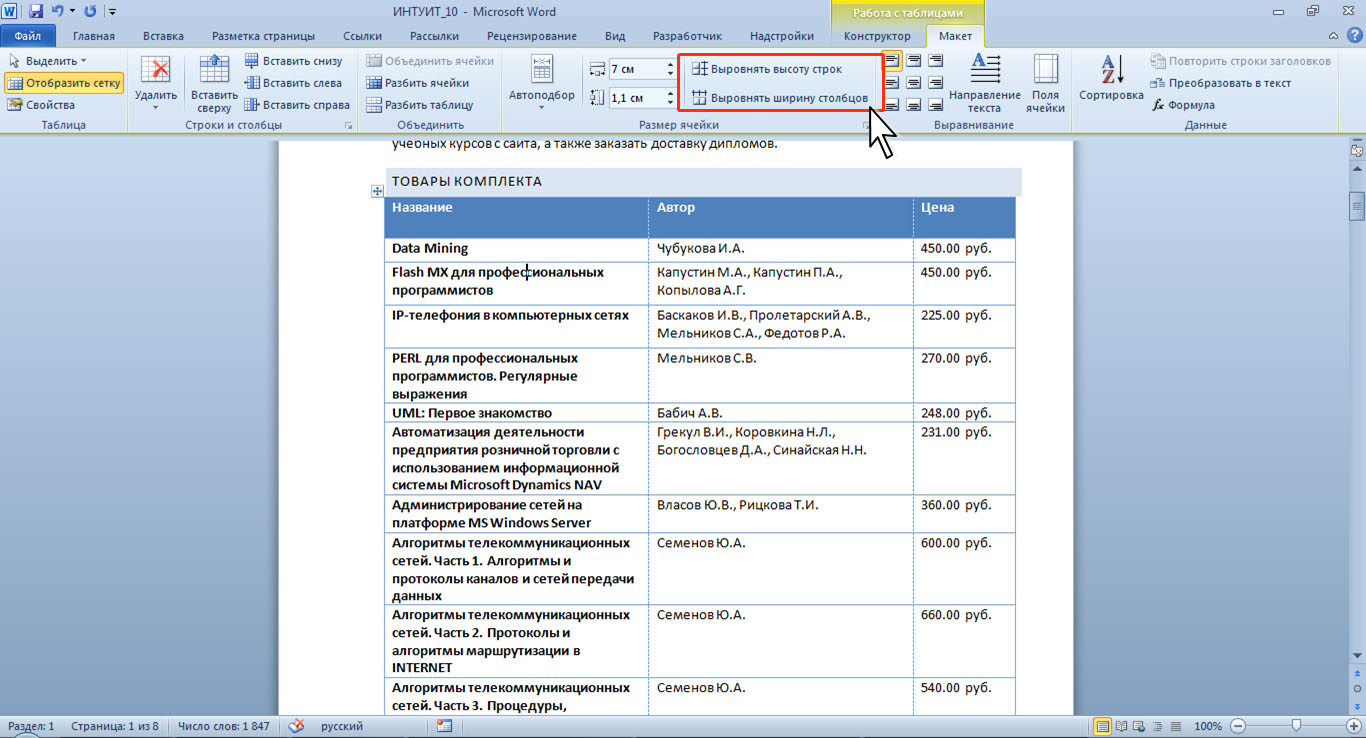
Menu "Layout" key "Leveling height or width of strings"
We told how to draw a table in different versions Word, insert it into text, change the internal components of the table.