
How to squeeze a WORD document to the desired size?
Guide to reduce the size of "Vordsk" files.
Navigation
People who have a lot to work in a text editor Microsoft Word.Surely noticed that certain documents Word. have size 20 - 30 kband the size of some comes to 40 - 50 MB. This difference in the weight of files can be due to both the format of the document itself and the presence in its text of third-party materials: pictures, different types of tables, and the like.
There is nothing terrible if the computer stores the file of this size in a single instance. But if there are dozens or even hundreds such documents, they simply "eat" all free space on the hard disk.
In this article, you will find detailed instructions for the correct compression of documents. Word. and reduce their size several times.
Image 1. How to reduce Word document size?
How to squeeze a WORD document to the desired size?
As mentioned earlier, the weight of documents Word. Directly depends on their contents. That is, if you add a picture to a document weighing 1 MB into a document, then its size has been replaced with the size of the text. There are three simple councils to reduce the overall document size. Word.:
Tip 1..
- Get rid of all unnecessary images in the document Word.if such an opportunity exists. If all the pictures contained in the file are vital, then try trimming them and reduce image quality in any graphic editor accessible to you, then add them to the document.
- In the event that you have no source images, and you cannot pull them out of the document for some reason, then make a screenshot using the button " PRINT SCREEN.»On the keyboard, open a graphic editor Paint. And do trust in the screenshot all unnecessary.
Tip 2..
- When adding images to the "Vordovsky" document, make sure that they have format Jpg.. Many people do not pay any attention to it and save pictures in format PNG., the size of which largely exceeds the format Jpg.But at the same time the image quality itself is not very different.
Tip 3..
- If in your document Word. There are no images, but there are tables or even just text to reduce the size of the document, save it in the format " docx"(If earlier he had a format" dOC"). This format "Vordovsky" document is available in the editor version Microsoft Word 2007. And in later.
- You will need in the menu " File»Select item" Save as"And in the window that opens, select the document format" docx».
- The reason why the documents of the format " docx»Weigh four or five times less format documents" dOC"It is that company developers Microsoft. The root rewrote and finalized the entire package. Microsoft Office 2007. and above, after which the new file format began to present an archive RAR or Zip..
How to reduce the weight of images in the Paint graphics editor?
If your document Word. Contains a large number of images whose size is required to reduce, but you do not even have the slightest idea how to do this, then do the following:
Step 1.
- Run the standard graphic editor " Paint.", Which is present in all versions of the operating system Windows.
- To do this, open the menu " Start", Expand the section" All programs", Find the folder" Standard»And click the Editor icon Paint.».
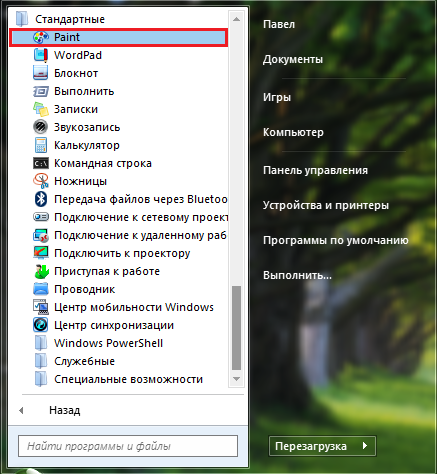
Image 2. Starting the paint editor Paint.
Step 2..
- After opening the editor in the upper right corner, click the icon in the form of a document to call the main menu and select " Open».
- In the conductor window that appears, find the image on the computer, the size of which you want to reduce, and open it in the program.
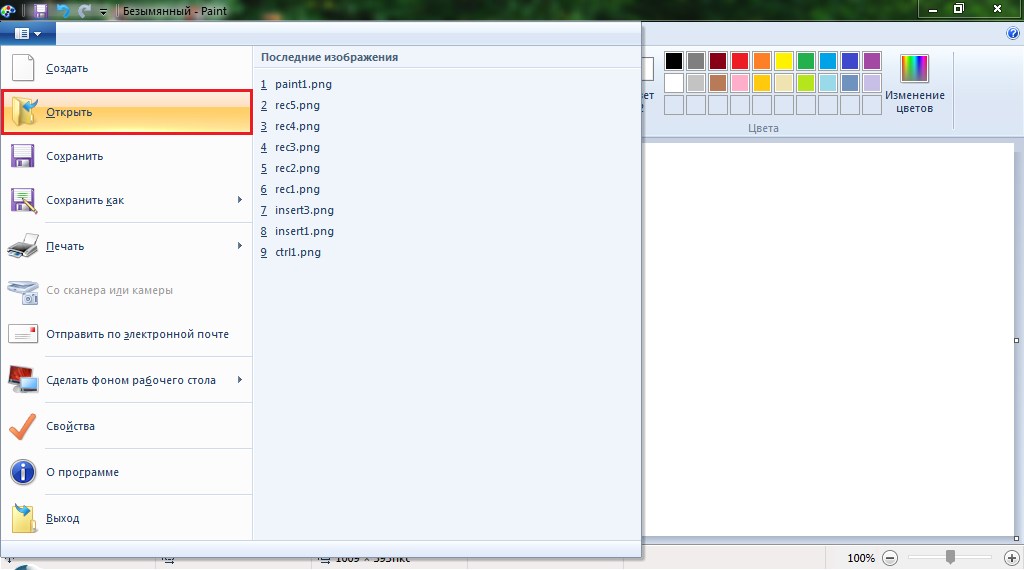
Image 3. Opening a desktop image.
Step 3..
- In our example, the image is so large that only a small part of the editor is placed on the workspace. To begin with, it is necessary to reduce its expansion.
- To do this, click on the "Icon" Change the size or tilt»On the toolbar, which is at the top of the main program window.
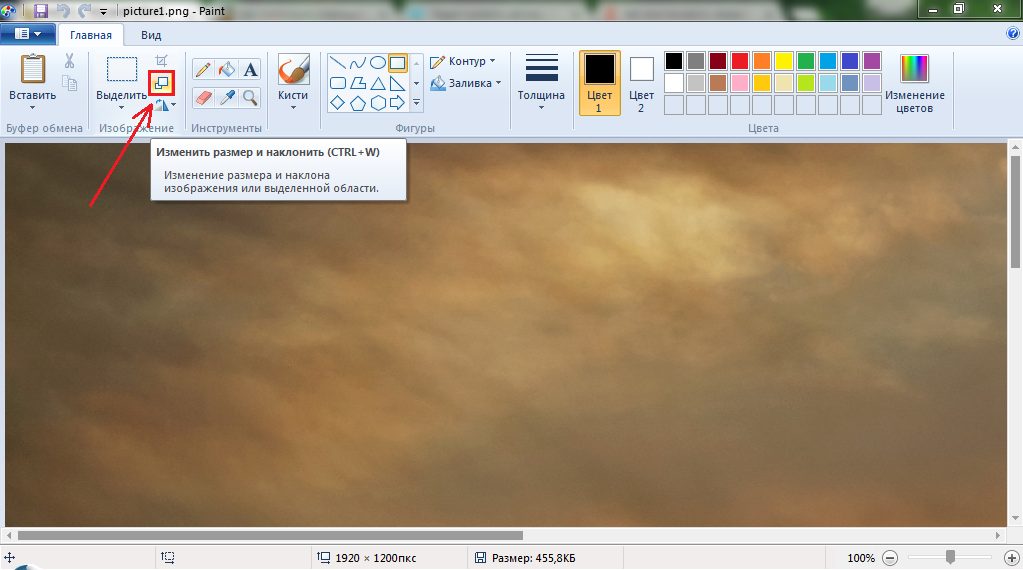
Image 4. Go to the image size change tool.
Step 4..
- The window will open with the image size changes. If you want the proportions of the pictures to be saved, then install a tick opposite the line " Save proportions».
- You also offer two types of dimension units in which you will change the size of the image: interest and pixels. In our personal opinion, it is best to change the size in percent.
- To double to reduce the image, set in the column " Horizontally"Value B. 50%. The same value will automatically be spelled out in the column " Vertically».
- Click the "button" OK"And look at the result.
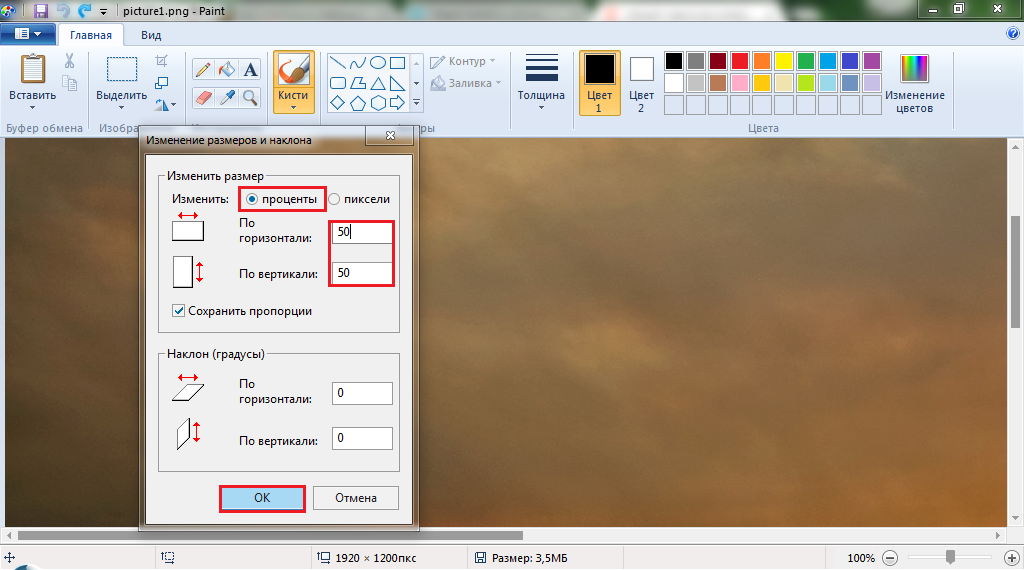
Image 5. Setting image parameters.
Step 5..
- As you can see, the image was compressed exactly twice and now almost completely placed in the work area of \u200b\u200bthe graphics editor.
- Further, if there is a need, you can cut everything superfluous in the picture. To do this, select the tool on the toolbar. Selection", And with the mouse, select the object you need on the image.
- As soon as the object is highlighted, click on the tool " Trim».
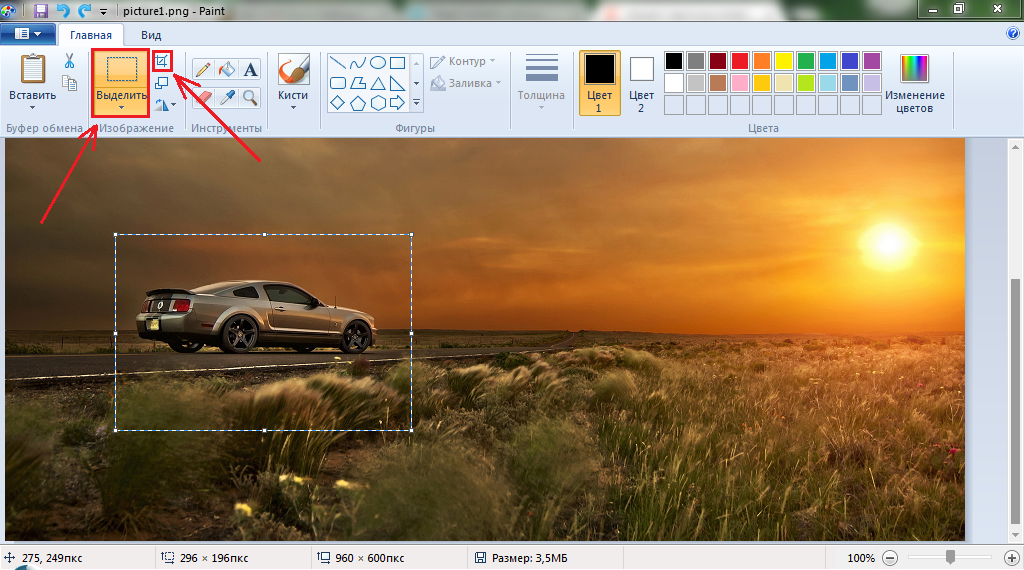
Image 6. Selection and cropping image.
Step 6..
- With the picture disappeared, everything is superfluous, and only the object you need remained in the workspace. Now it is left for small. It is necessary to save the resulting image in format Jpg..
Important: Previously pay your attention to the current weight of the pattern, which is listed at the bottom of the main editor window. In our example, it 3.5 MB. Remember size.
- Click on the keyboard key " F12."In the appeared window, set the image name and specify the folder to save.
- In the column " File type»Select" Jpg."And click on the" button " Save».
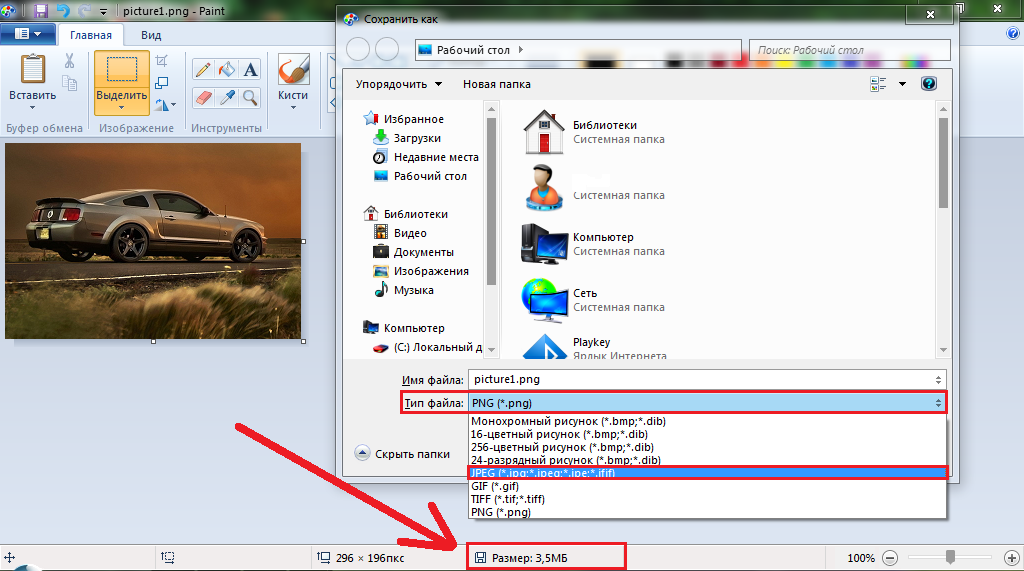
Image 7. Saving a modified image.
Step 7..
- Now that you saved the drawing in the format Jpg., Rear attention to the file size at the bottom of the graphics editor window. It was 3.5 MB, and became 23.5 KB. Impressive result, isn't it?
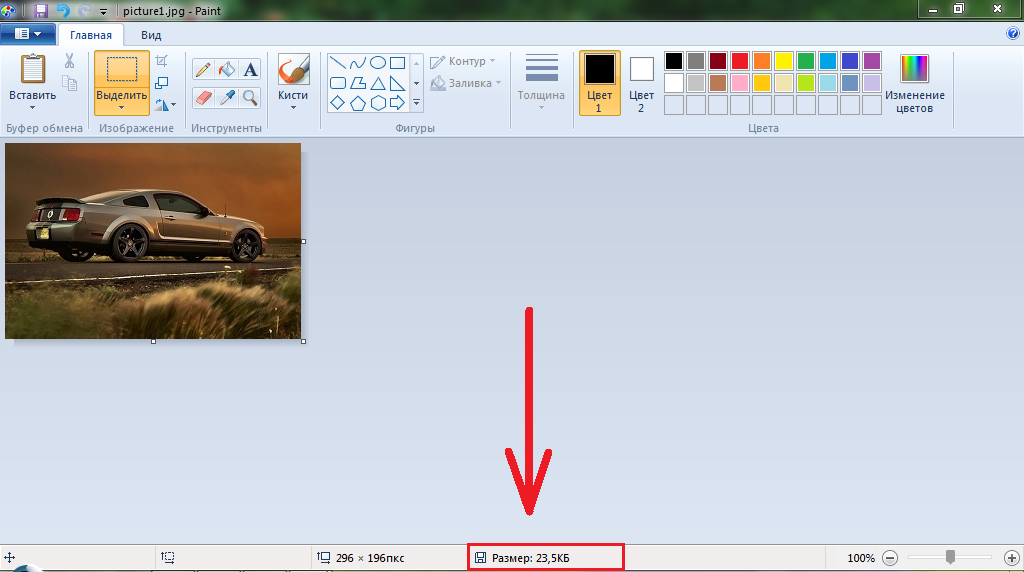
Image 8. Comparing image sizes.
How to squeeze drawings in the Word text editor?
If a decrease in the weight of the drawings via a graphic editor Paint. It seemed to you too tedious occupation, then there is a faster way to compress them through Word.. However, it is worth warming that the result will be much worse, as the image format remains the same. This happens as follows:
Step 1.
- Open your document Word., Click it on one of the pictures and go to the " Format»At the top of the main editor window.
- Next on the toolbar, click on the "button" Sit drawings».
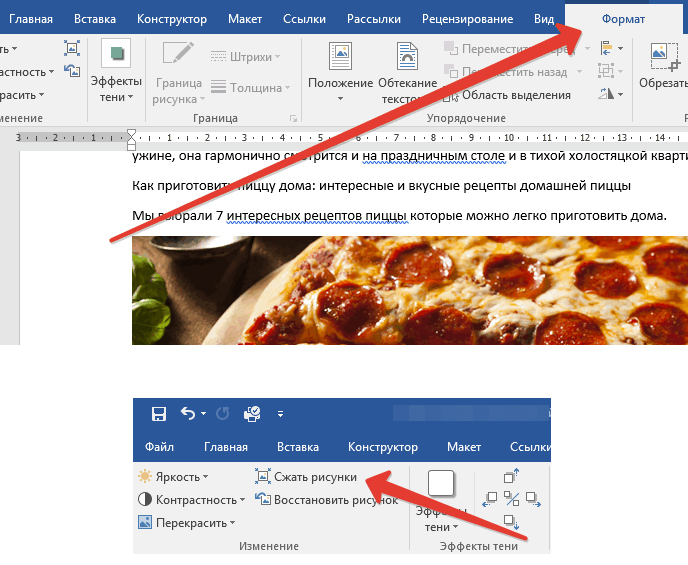
Image 9. Running the drawing compression tool.
Step 2..
- A window appears in which you need to set the marker opposite the line " Apply to this drawing" If you ignore this setting, the changes will be applied to the entire image in the document.
- There is the option " Remove cropped patterns" It is comparable on the principle of cropping images in Paint.. Before using it, it is necessary to take into account that it will be impossible to cancel the pruning.
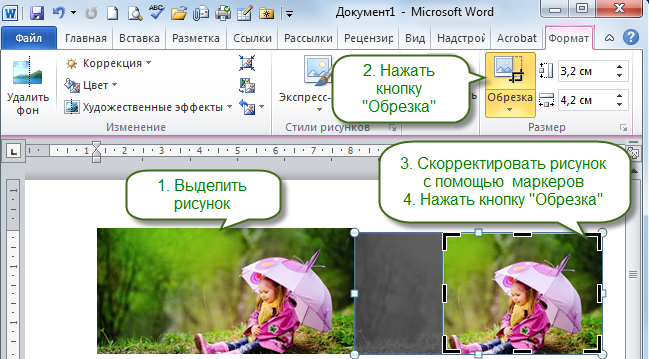
Image 10. Setting parameters and cropping patterns.