How to put or swap a password on Wi-Fi Yota?
Want to protect your Wi-Fi network so that there are no other people's people in it? We will tell you how to do it.
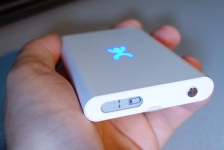
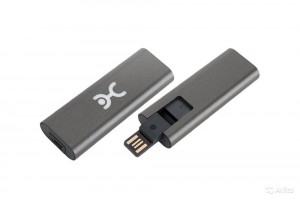
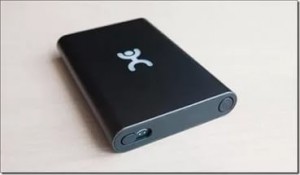
Mobile Wi-Fi Modem from Yota is a very convenient device that is intended to work in the LTE network. In addition to its mobility and compactness, it has another feature that allows him to gain an advantage over other - creating a network Wi-Fi network or wireless connection. The connected USB modem may easily provide access to further 8 devices.
You can limit access to third parties to your Internet using a special protection function. It is not difficult to set up it.
Install or change Password Wi-Fi Yota

Unlike the old Wi-Fi models, the Yota modem at the first connection creates accessible to all. With the help of the Web interface, you can easily change all the parameters, as well as put a password to protect from access to other people. To do this, follow several uncomplicated actions:
Connect the modem using USB

Wait until it connects with the Internet and create a public network called Yota (the logo should light up)
- Open a web interface with settings
- Go to the "Protection Type" field and select "Protected WPA2"
- Enter any convenient password for 8 characters long.
You can also change the usual name on any convenient and adjust the settings for yourself, for example, that the Internet be started to automatically work when the computer is turned on. In order for all new parameters to take effect, you must restart the device and re-connect to the network. From time to time you can change the password on the Web interface page.
If you change the password again, then you need to enter a new password for your device, and if necessary, change other parameters. Using the password installation, you can prevent not only unauthorized access to your traffic by third parties, but also protect data. Therefore, the more difficult to be your password, the better.
